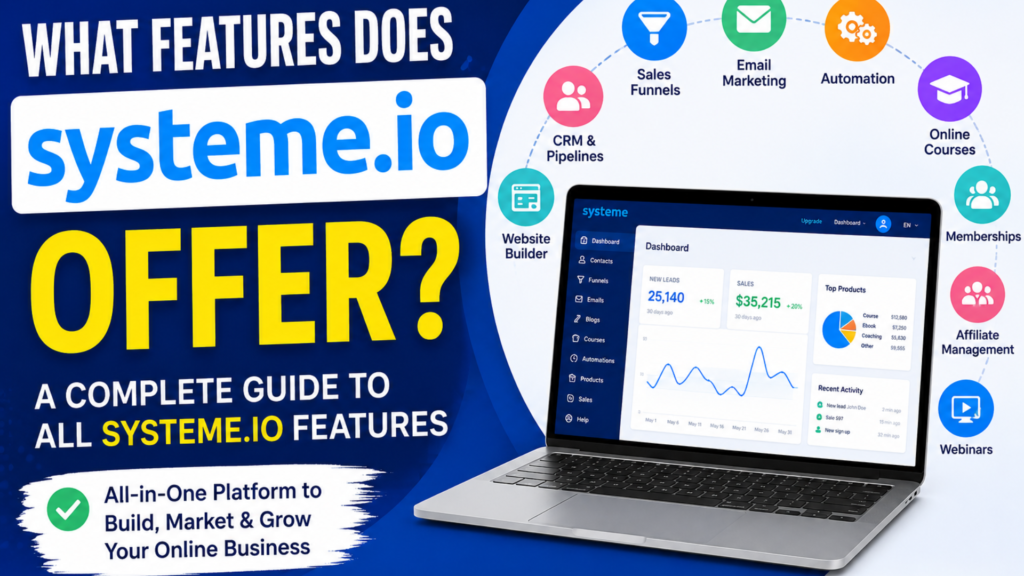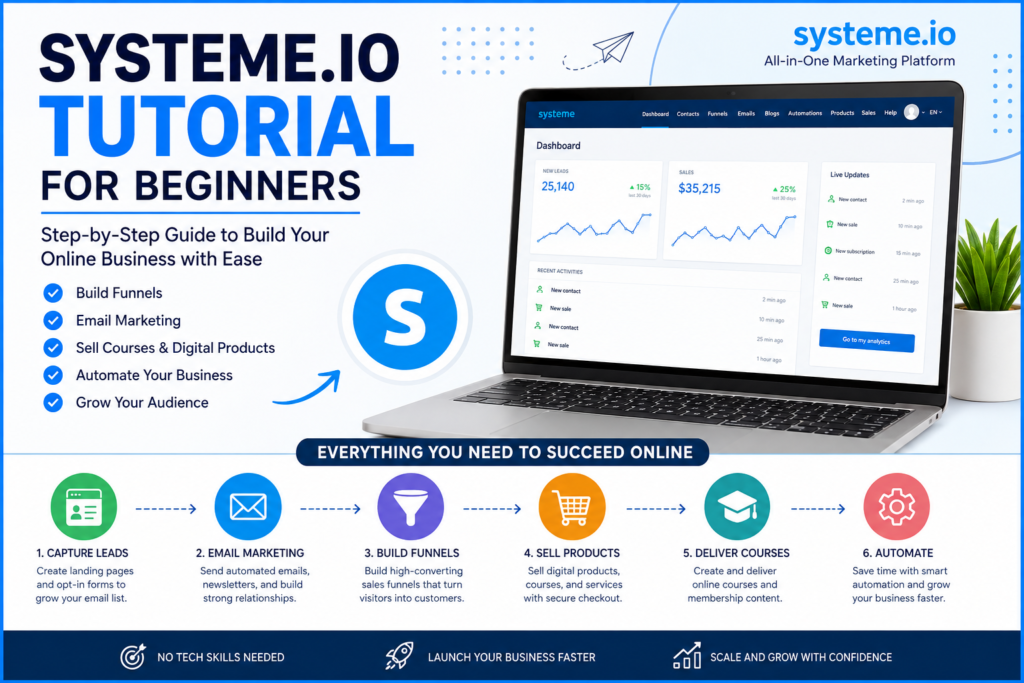
Building a professional sales funnel no longer requires coding skills, expensive software, or a team of developers. With Systeme.io, we can create landing pages, sales pages, checkout pages, thank-you pages, and automated follow-up sequences from a single platform.
The Systeme.io drag-and-drop sales funnel builder makes it possible to design a complete customer journey visually. We can select a template, customize individual sections, add forms and buttons, connect our offer, configure payments, and automate email follow-ups without writing complicated code.
This guide explains how to set up a Systeme.io drag-and-drop sales funnel step by step, from creating the funnel to publishing and optimizing it for conversions.
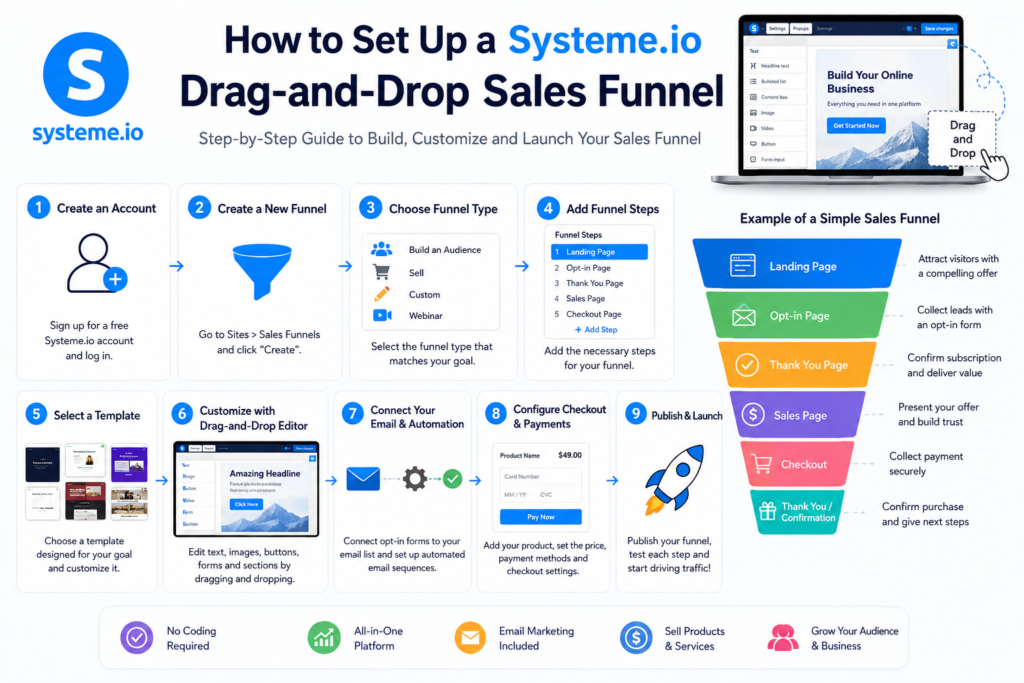
What Is a Systeme.io Drag-and-Drop Sales Funnel?
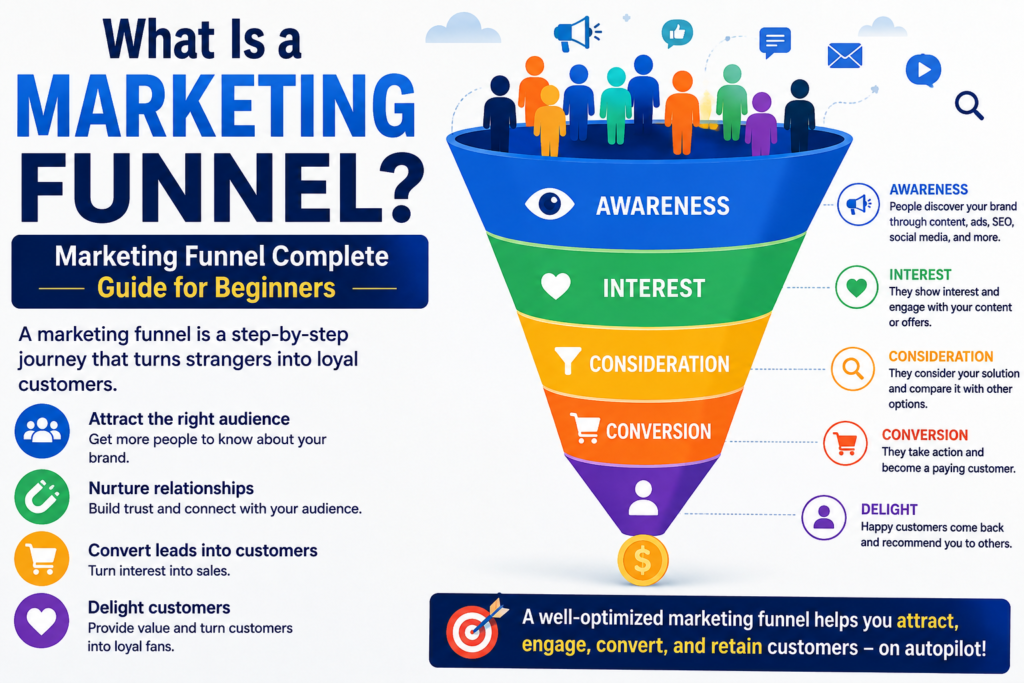
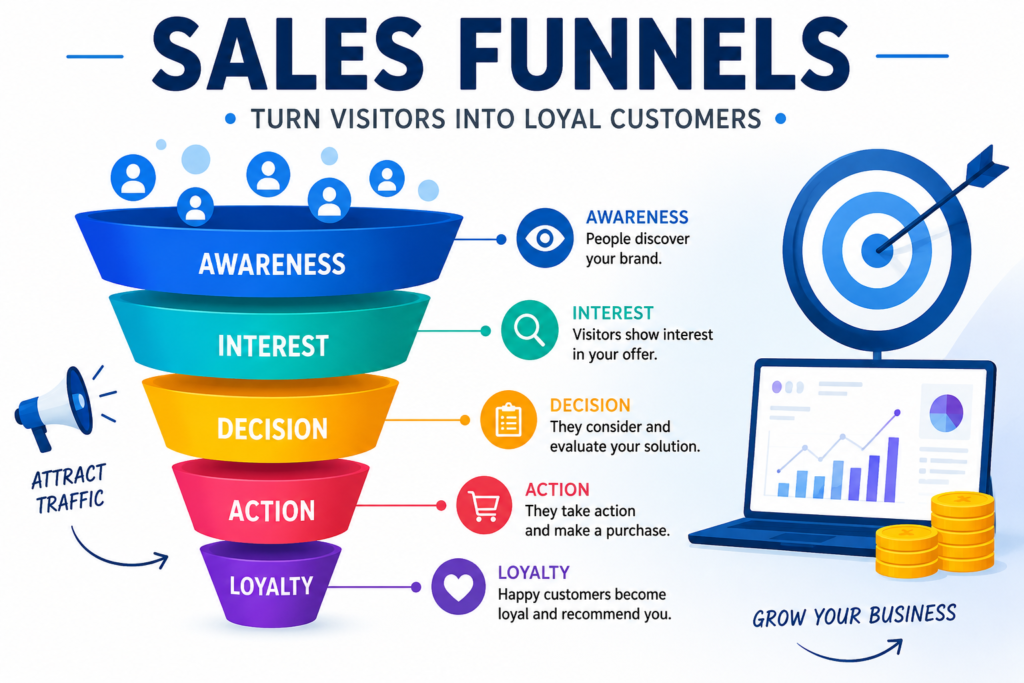
A sales funnel is a structured journey that moves a visitor from their first interaction with a business toward a specific action, such as submitting an email address or purchasing a product.
A typical funnel may look like this:
Traffic → Landing Page → Lead Capture → Sales Page → Checkout → Thank You Page → Email Follow-Up
Systeme.io combines the main components required to build this journey inside one platform. Its funnel builder allows us to create pages using templates and a visual editor rather than manually coding HTML and CSS.
The drag-and-drop approach is particularly useful for beginners because page elements can be visually arranged and customized.
Why Use Systeme.io for Building a Sales Funnel?
There are several reasons we may choose Systeme.io instead of assembling a funnel from multiple separate services.
1. Drag-and-Drop Page Builder
The visual editor lets us arrange page components without programming. We can create headlines, images, buttons, forms, testimonials, pricing sections, videos, and other page elements directly within the editor.
2. Funnel Templates
Instead of starting with a completely blank page, we can begin with a professionally structured template and modify it for our business.
Systeme.io currently provides different funnel creation options, including Build an Audience, Sell, Custom, and evergreen webinar structures, with the available options depending on the account and funnel type.
3. Built-In Email Marketing
A sales funnel becomes considerably more useful when visitors who do not purchase immediately can be followed up automatically.
Systeme.io integrates email marketing and automation with the funnel, allowing us to nurture prospects after they subscribe.
4. Integrated Checkout
For sales funnels, we can connect the relevant payment and order process instead of sending customers through an unrelated third-party checkout experience.
5. One Platform
Instead of connecting separate landing-page software, email marketing software, checkout software, and automation tools, we can manage many of these functions from the same Systeme.io account.
How to Set Up a Systeme.io Drag-and-Drop Sales Funnel
Let’s walk through the complete process.
Step 1: Create a Systeme.io Account
The first step is to create a Systeme.io account and access the dashboard.
After logging in, we can navigate to the funnel section of the platform. The current interface places sales funnels under the Sites area.
Before creating the funnel, we should have a clear understanding of four things:
- What we are selling
- Who the target customer is
- What action we want visitors to take
- Where our traffic will come from
For example, suppose we are promoting an online marketing course.
Our funnel could be:
Facebook Ad → Free Guide → Email Capture → Sales Page → Checkout → Course Access
Planning this structure before designing pages makes the funnel considerably easier to build.
Step 2: Create a New Sales Funnel
From the Systeme.io dashboard, navigate to:
Sites → Sales Funnels → Create
Systeme.io then allows us to provide important funnel information such as the funnel name, domain, and currency.
Choose a descriptive funnel name rather than something generic.
For example:
Beginner Marketing Course Funnel
is better than:
Funnel 1
A descriptive name becomes especially useful when we eventually have multiple campaigns.
Step 3: Choose the Right Funnel Type
Systeme.io provides different funnel structures.
Build an Audience Funnel
This option is suitable when our primary objective is lead generation.
A basic structure can include:
Opt-In Page → Thank You Page
This is useful for:
- Free ebooks
- Checklists
- Webinars
- Coupons
- Free courses
- Lead magnets
- Email newsletters
Sell Funnel
A selling funnel is designed around generating purchases.
A typical structure can include:
Sales/Order Form → Thank You Page
This is appropriate when we already have an offer and want visitors to move toward purchasing.
Custom Funnel
The Custom option is useful when we want more control over the funnel architecture.
We can create a structure such as:
Landing Page → Sales Page → Order Form → Upsell → Downsell → Thank You Page
Webinar Funnel
For businesses running evergreen webinars, Systeme.io also provides a dedicated webinar funnel option. The availability of this option depends on the plan.
Step 4: Add Funnel Steps
A sales funnel is made up of individual steps.
Each step should have one primary purpose.
For example:
- Landing page — capture attention
- Opt-in page — collect the lead
- Thank-you page — confirm registration
- Sales page — present the offer
- Order form — collect payment
- Upsell page — increase customer value
- Confirmation page — provide the next step
Systeme.io allows us to add additional steps to a funnel.
We should avoid creating unnecessary pages simply because the platform makes them easy to add.
A simple funnel with a clear customer journey can be more effective than a complicated funnel containing too many distractions.
Step 5: Select a Page Template
Once we have created a funnel step, we can select a page template.
Templates provide the initial structure for our page.
Depending on the purpose of the page, we might choose a design containing:
- Hero section
- Headline
- Subheadline
- Call-to-action button
- Image
- Video
- Benefits section
- Testimonials
- Pricing section
- FAQ section
- Registration form
The goal is not to keep the template exactly as provided.
Instead, use the template as a starting point and customize it around the offer.
Step 6: Open the Drag-and-Drop Editor
After selecting the page, click Edit page to open the visual editor.
The current Systeme.io help documentation describes accessing a funnel page through Sites → Sales funnels, selecting the funnel, and then choosing Edit page.
This is where the drag-and-drop functionality becomes important.
Instead of editing complicated source code, we can visually modify the page.
We can change:
- Text
- Images
- Buttons
- Sections
- Spacing
- Forms
- Videos
- Backgrounds
- Pricing information
- Testimonials
- Calls to action
Step 7: Build a High-Converting Hero Section
The hero section is normally one of the first things visitors see.
A strong hero section should immediately communicate:
What is being offered + Who it is for + Why it matters + What to do next
For example:
Build Your First High-Converting Sales Funnel
Create a professional online sales funnel without complicated coding or expensive software.
[Start Building Your Funnel]
Avoid vague headlines such as:
Welcome to Our Website
Instead, focus on the customer’s desired outcome.
Step 8: Add Your Call-to-Action
The CTA is one of the most important elements on the page.
Examples include:
- Get Started Free
- Download the Free Guide
- Start My Free Trial
- Watch the Free Training
- Get Instant Access
- Join the Program
A good CTA should tell visitors exactly what happens when they click.
We should also keep the CTA consistent throughout the page.
For example, if the goal is to collect an email address, don’t use five different CTA messages that imply different actions.
Step 9: Add an Opt-In Form
For a lead-generation funnel, the form is essential.
Systeme.io allows us to add form input elements through the page editor. The platform’s documentation explains that we can drag the Form input element into the appropriate section and configure the type of information we want to collect. Additional fields can also be added.
For most lead magnets, we should keep the form simple.
For example:
First Name
Email Address
[Get the Free Guide]
Avoid requesting unnecessary information if we don’t need it.
Every additional field can create another reason for a visitor to abandon the form.
Step 10: Create a Strong Sales Page
If our funnel sells a product or service, the sales page needs to explain the offer clearly.
A practical sales page structure can be:
Headline
Present the primary result.
Problem
Explain the problem the customer is experiencing.
Solution
Introduce our product or service as the solution.
Benefits
Explain what the customer gets.
Features
Describe what is included.
Social Proof
Add testimonials, reviews, case studies, or relevant credibility indicators where they are genuine and permitted.
Offer
Explain exactly what the customer receives.
Price
Clearly communicate the price and payment terms.
Risk Reversal
If a legitimate refund policy or guarantee exists, explain it clearly.
Call to Action
Give the visitor a clear next step.
Systeme.io’s sales-page tools support building pages visually and connecting them with checkout and email follow-up.
Step 11: Connect Your Checkout
A sales funnel needs a payment mechanism when the goal is to sell a product.
The checkout should contain all essential information without unnecessary distractions.
Before sending paid traffic to the funnel, we should verify:
- Product name
- Price
- Currency
- Payment method
- Customer information
- Order confirmation
- Delivery/access process
- Refund information
- Tracking
A customer should never reach the checkout and discover that the offer is different from what the sales page promised.
Step 12: Add an Order Bump or Upsell
Once the primary funnel is working, we can consider increasing the average order value.
An order bump is an additional offer presented during checkout.
An upsell is an additional offer presented after the initial purchase.
For example:
Main Product: $49 Marketing Course
Order Bump: $9 Funnel Checklist
Upsell: $97 Advanced Funnel Training
The additional offer should be closely related to the original purchase.
Don’t add unrelated products simply to increase the number of offers.
Systeme.io supports order bumps and upsell structures as part of its funnel ecosystem.
Step 13: Create the Thank-You Page
After a visitor completes the desired action, they should be sent to a clear confirmation page.
A thank-you page can:
- Confirm registration
- Provide a download
- Explain the next step
- Provide course access instructions
- Encourage the customer to check email
- Introduce a relevant next offer
- Provide contact information
For example:
You’re In!
Your free guide has been requested successfully.
Check your inbox for the access email.
While you’re waiting, watch this short training to learn how to build your first funnel.
[Watch the Training]
Step 14: Set Up Email Automation
One of the biggest advantages of building a funnel inside an integrated platform is the ability to follow up with leads.
Suppose someone downloads a free ebook but doesn’t purchase.
We can create an automated sequence such as:
Email 1 — Immediately: Deliver the resource
Email 2 — Day 1: Explain the problem
Email 3 — Day 2: Provide a useful strategy
Email 4 — Day 3: Address common objections
Email 5 — Day 4: Introduce the paid offer
Email 6 — Day 5: Explain the benefits
Email 7 — Day 6: Final reminder
The exact sequence should depend on the product, buying cycle, audience, and offer.
The important principle is that the funnel should continue communicating with interested prospects instead of relying entirely on the first page visit.
Systeme.io integrates email automation with its funnel system.
Step 15: Connect Your Domain
A branded domain can make a funnel look more professional than a generic URL.
For example:
yourbrand.com/free-guide
is generally easier to understand and remember than a random platform-generated address.
Systeme.io can also be connected with external websites. Its help documentation explains that a funnel or individual funnel step can be linked from an external website by copying the relevant funnel URL and placing it behind a button or link.
This is particularly useful if we already have a WordPress website.
We can use:
WordPress → Systeme.io Funnel → Checkout
without rebuilding the entire website inside the funnel platform.
Step 16: Optimize the Funnel for Mobile Devices
A significant percentage of visitors may arrive from smartphones.
Therefore, we should check every funnel page on mobile.
Pay particular attention to:
- Headline size
- Button size
- Image dimensions
- Text spacing
- Form usability
- Page width
- Video placement
- Pricing sections
- Navigation
- Checkout usability
A page that looks excellent on a desktop computer can still provide a poor mobile experience.
Step 17: Test the Entire Funnel Before Launching
Never send paid traffic to a funnel without testing it.
Complete the funnel yourself from beginning to end.
Test:
Landing Page → Form → Thank You Page → Email → Sales Page → Checkout → Confirmation
Check whether:
- Forms submit correctly
- Emails arrive
- Buttons work
- Links point to the correct destinations
- Checkout works
- Products are delivered
- Upsells work
- Tracking fires correctly
- Mobile pages display properly
A technically broken funnel can waste advertising money very quickly.
How to Build a Simple Systeme.io Funnel for Beginners
For someone creating a first funnel, we recommend starting with a simple structure.
Step 1 — Traffic
Bring visitors from:
- Google Ads
- Facebook Ads
- YouTube
- Existing website traffic
Step 2 — Landing Page
Present one compelling offer.
Step 3 — Lead Capture
Collect the visitor’s email address.
Step 4 — Thank-You Page
Confirm the registration and explain the next step.
Step 5 — Email Sequence
Build trust and introduce the paid product.
Step 6 — Sales Page
Present the complete offer.
Step 7 — Checkout
Allow the customer to purchase.
Step 8 — Confirmation
Deliver the product or explain what happens next.
This structure is simple enough for beginners while still providing the essential components of a modern sales funnel.
Common Systeme.io Funnel Mistakes to Avoid
Using Too Many Elements
Adding more sections doesn’t automatically make a page better.
Every section should support the primary conversion goal.
Having Multiple Competing CTAs
If the visitor can:
- Buy
- Subscribe
- Read a blog
- Follow social media
- Contact us
- Watch another video
all from the same page, they may become distracted.
Give the page a clear primary objective.
Writing Feature-Focused Copy
Customers usually care more about outcomes than technical specifications.
Instead of:
“Includes 25 video lessons.”
Consider:
“Follow 25 step-by-step lessons that take you from setup to your first completed funnel.”
Ignoring Email Follow-Up
Many visitors aren’t ready to buy during their first session.
A well-designed email sequence can bring qualified prospects back to the offer.
Sending Paid Traffic Before Testing
Always test the entire journey before scaling advertising.
How to Optimize a Systeme.io Drag-and-Drop Funnel
After launching the funnel, monitor the performance of each step.
For example:
1,000 visitors → 300 leads → 60 sales
If only 100 visitors reach the opt-in form, the landing page may need improvement.
If 300 people become leads but only 5 purchase, the problem may be the offer, sales page, pricing, follow-up sequence, or traffic quality.
This is why we should analyze the funnel step by step rather than simply looking at total sales.
Systeme.io provides funnel analytics and conversion-focused functionality to help identify performance issues.
A/B Testing Your Systeme.io Funnel
Once the basic funnel is working, we can test different elements.
For example:
Test 1: Headlines
Version A: Build Your First Sales Funnel
Version B: Launch Your Online Sales Funnel Without Coding
Test 2: CTA
Version A: Get Started
Version B: Start Building My Funnel
Test 3: Offer
Test different:
- Pricing structures
- Bonuses
- Guarantees
- Lead magnets
- Page layouts
Systeme.io’s current sales-page functionality also includes A/B testing capabilities.
The important rule is to test one meaningful variable at a time whenever practical so we can understand what actually caused the change.
Systeme.io Drag-and-Drop Sales Funnel Example
Let’s consider a simple digital-product funnel.
Traffic
Facebook advertisement promoting a free marketing checklist.
↓
Opt-In Page
Headline:
Get the 25-Point Marketing Funnel Checklist
Visitor enters their email.
↓
Thank-You Page
The visitor receives instructions for accessing the checklist.
↓
Email Sequence
We send educational emails over several days.
↓
Sales Page
Introduce a $49 marketing course.
↓
Checkout
Customer completes the purchase.
↓
Order Bump
Offer a relevant $9 template pack.
↓
Upsell
Offer an advanced $97 training package.
↓
Thank-You Page
Confirm the purchase and provide access instructions.
This is a complete funnel that can be constructed from connected funnel steps rather than relying on multiple unrelated platforms.
Can We Use Systeme.io With WordPress?
Yes.
A WordPress website and Systeme.io funnel can work together.
For example, a WordPress website can contain:
- Blog
- SEO content
- About page
- Contact page
- Resources
Systeme.io can handle:
- Landing pages
- Lead capture
- Sales funnels
- Checkout
- Email automation
- Upsells
We can link a WordPress button directly to a Systeme.io funnel or funnel step. Systeme.io’s official documentation provides instructions for connecting funnel URLs to external websites.
This creates a useful hybrid setup for businesses that want WordPress for content publishing and Systeme.io for conversion-focused campaigns.
Frequently Asked Questions
Is Systeme.io drag-and-drop?
Yes. Systeme.io provides a visual page editor that allows users to customize funnel pages without needing to write standard HTML or CSS for normal page creation.
Can beginners build a Systeme.io sales funnel?
Yes. Beginners can start with an existing template, customize the content, add their forms and offers, and connect the required funnel steps.
Do we need coding skills?
No coding knowledge is required for the standard drag-and-drop funnel-building process.
Can we create a sales funnel from scratch?
Yes. The Custom funnel option provides a blank structure where we can add the required funnel steps ourselves.
Can Systeme.io collect email addresses?
Yes. We can add form fields to funnel pages and configure the information collected from visitors.
Can we sell digital products with Systeme.io?
Yes. Systeme.io is designed to support sales funnels and online-business workflows, including selling digital products and delivering access to relevant products or courses.
Can we connect a Systeme.io funnel to WordPress?
Yes. A Systeme.io funnel or individual funnel step can be linked from an external website such as WordPress.
Should we start with a template or build from scratch?
For beginners, starting with a template is usually faster. Once we understand the editor and funnel structure, building custom funnels becomes easier.
Learning how to set up a Systeme.io drag-and-drop sales funnel becomes much easier when we approach the process as a customer journey rather than simply designing individual web pages.
The essential workflow is:
Choose the offer → Define the audience → Create the funnel → Select a template → Customize pages → Add forms → Connect checkout → Set up email automation → Test everything → Launch → Optimize
The biggest advantage of a drag-and-drop funnel builder is that we can spend more time improving the offer, messaging, customer experience, and conversion strategy rather than dealing with technical development.
For beginners, the best approach is to start with a simple funnel, launch it, measure each step, and improve the weakest part of the customer journey.
A well-structured Systeme.io sales funnel can become the central conversion system for an online business, connecting traffic, lead generation, email marketing, sales, checkout, and customer follow-up into one streamlined workflow.
Recommended Next Steps
- Create your Systeme.io account.
- Define one product and one target audience.
- Choose Build an Audience, Sell, or Custom depending on your objective.
- Start with a proven funnel template.
- Customize the pages using the drag-and-drop editor.
- Connect your form and email automation.
- Configure your checkout and offer.
- Test the complete funnel.
- Launch your traffic campaign.
- Track conversions and continuously optimize the funnel.
The goal is not to build the biggest funnel. The goal is to build the clearest path from visitor to customer.